How to Use Green Screen on CapCut
How to Use Green Screen on CapCut? Complete Details and Method
Do you find to change the background of a video sound complex? Right, it’s a difficult task, but now CapCut offers Green Screen, which means you can easily replace the background of your video content.
Now replacing the background in a video is a simple task even for a beginner in the editing world. Just import your media, layer the green screen clip over your required background, and use the chroma key features to remove the green section. For a smooth finish fine-tune setting and repurpose intensity.
Even if you’re a beginner or an advanced editor, CapCut enables its users to create incredible video content efficiently. Download the CapCut APK or CapCut MOD APK to enjoy advanced editing features for free.
Introduction to How to Use Green Screen on CapCut
CapCut is now the most popular video editing tool. It offers tools for both beginners and advanced users. CapCut is also famous because of its rich features that help users create incredible videos in no time. The Green Screen Feature can enhance your overall video if you want to create something unreal.
Now CapCut makes it too easy to change the background of video content. In this guide, we’ll learn How to Use the Green Screen on CapCut in detail. Use the CapCut APk Download version to delve into the world of CapCut MOD APK.
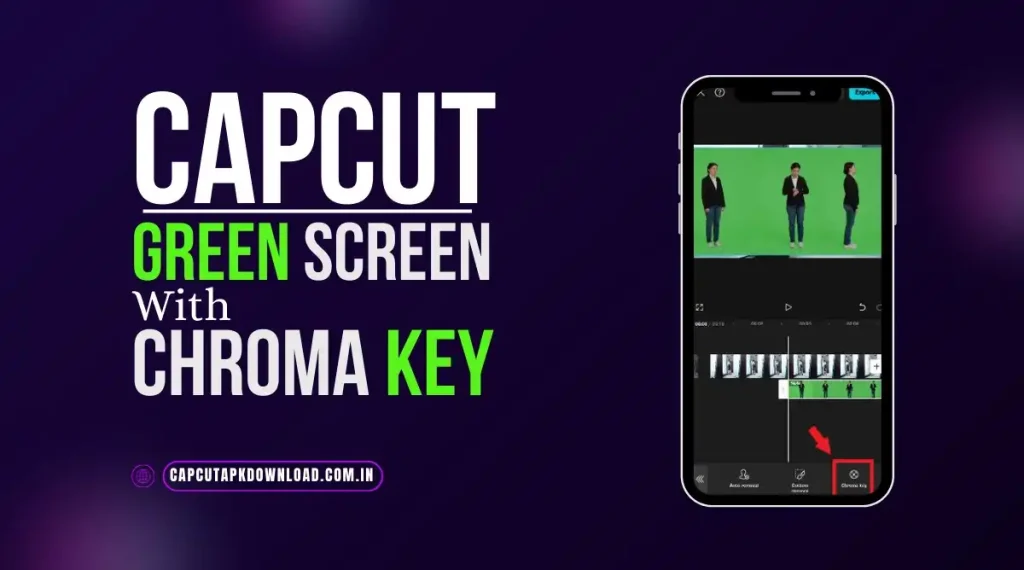
How to Make a Green Screen on CapCut with Chroma Key

Making a green screen effect on CapCut by using the Chroma Key features is easy and effective. Here’s a step-by-step guide on how to make a Green Screen on CapCut.
- Download and Install CapCut
Download CapCut or CapCut APK Download on your device. - Import Your Clips
Open the CapCut, tab “create a new project”. After that add your background media like video or image. Then, add the green screen image for overlaying. - Position the Clips
Position the green screen clip on top of the background. Adjust the layer and size as required. - Use the Chroma Key Tool
- Click on the green screen clip to choose it. Users can use the color picker to choose the green screen in your video. Explore the bottom menu and choose the Chroma Key.
- Use the color picker to choose the green screen in your video.
- Adjust the Intensity
Modify the shadow setting to fine-tune the movement of the green background. Ensuring a seamline edge and a professional touch. - Preview and Edit Further
To ensure a perfect result preview your video before exporting. Add more effects, transitions, or color correction to increase your video quality. - Export Your Video
After satisfaction, export your video to the desired quality.
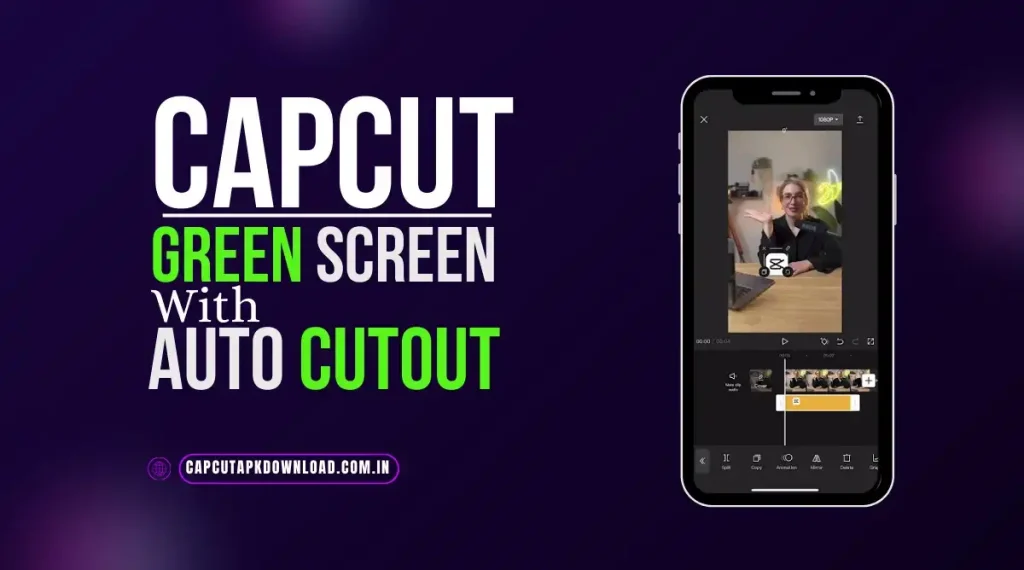
How to Use Green Screens in CapCut with Auto Cutout

CapCut’s Auto Cutout feature makes the green screen projects easier and more enjoyable. Whether you don’t want to manually adjust the setting with the Chroma Key feature. You can access the Auto Cutout feature in the timeline bottom menu. You just need to click on Auto Cutout and the magic will happen. All the distractions like Humans in the video and the green screen background will be removed. Let’s learn it in the guide below!
- Download and Install CapCut
Download and Install CapCut or CapCut APK Download on your device. - Import Your Clips
Open the CapCut, tab “create a new project”. After that add your background media like video or image. Then, add the green screen image for overlaying. - Select the Green Screen Clip
Click on the green screen clip in the timeline to emphasize it. - Enable Auto Cutout
- Find Auto Cutout in the menu.
- Click on it to straightaway remove the background from your green screen video.
- Fine-Tune the Effect
Modify the position and size of the overlay to match your background. For smoother blending, you can also add brightness and shadow adjustments. - Preview and Add Enhancements
Preview the edited video to make sure the cutout looks smooth. - Export Your Project
After satisfaction, export your video in high quality.
Users can easily create professional-looking green screen effects without any experience and effort by using the CapCut APK Download or CapCut MOD APK. This features rationalizer the editing process, making video editing fun and quick.
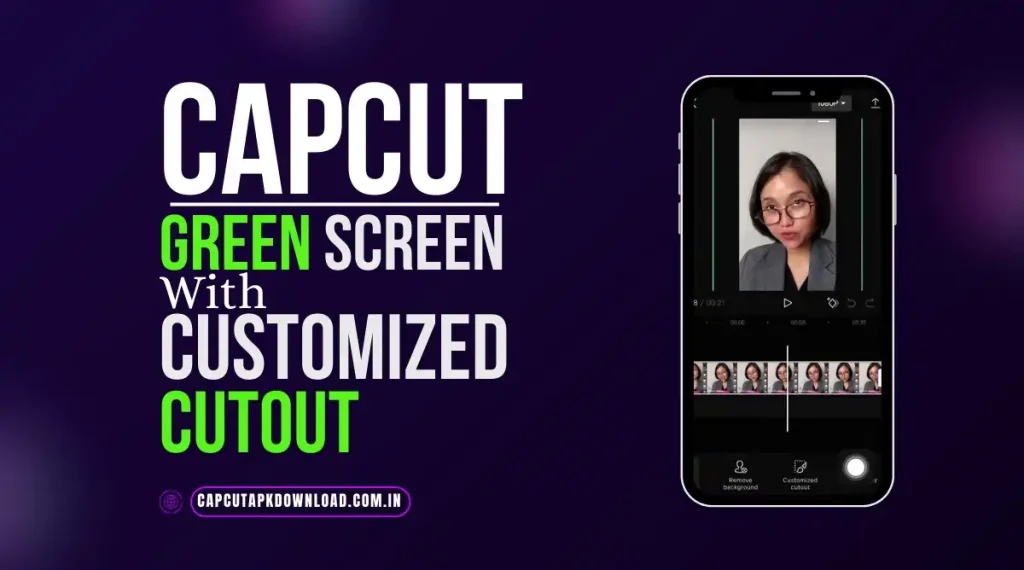
How to Use Green Screens in CapCut with Customized Cutout

CupCut’s Customized Cutout feature enables more accurate green screen editing. It gives more access to isolating subjects in a green screen clip. But these customized cutout feature needs a lot of focus and experience too. You will get a brush and eraser to clarify the green screen edges. Let’s learn how to do it!
- Download CapCut
Begin by downloading the CapCut Apk Download or CapCut MOD APK on your devices to get more advanced features. - Import Your Video Clips
Open CapCut, create a new project add the background image or video. After that, import the green screen video clip you need to edit. - Select the Green Screen Clip
Choose the green screen clip in the timeline to allow editing tools. - Activate Customized Cutout
- Explore the Cutout option in the bottom menu on the timeline page
- Click on the Customize Cutout to get the manual selection mode.
- Draw and Adjust
- Use a drawing tool like a brush, and outline the subject or area you want to keep.
- Fine-tune your selection by zooming in for accuracy.
- Adjust the setting by using an eraser, brush size, or edge smoothing for a stunning look.
- Fine-Tune the Background Removal
Fine-tune the imperfections, use the erase or restore tools to neat the edges, and ensure a stunning result. - Preview and Enhance
Preview your video to make sure the customized cutout looks smooth. Add more effects to enhance the vibe of your video. - Play your video to confirm the cutout blends well with the background. Add effects, transitions, or text for a creative touch.
- Export Your Project
After satisfaction, export your video in high quality.
For more extensive features and extraordinary editing experience get CapCut Pro, and take your standard videos to the next level.
Tips and Tricks on How to Use Green Screen on CapCut
Here are tips on how to apply a green screen to create stunning videos for 2024!
1. Proper Lighting is Key
- Even Lighting: Always make sure that your green skin is similarly set alight to ignore shadows or hot spots, so it can make the Chroma key effect less effective.
- Subject Lighting: To prevent the subject from casting shadows on it. So it can make your video look better in the final results.
2. Use a High-Quality Green Screen
- Material Matters: Use high-quality, even green screen material because a rough surface can affect the green screen effect.
- Size Matters: Guarantees that the green screen you are using should not be in a smaller size the size should be large. Because the larger screen can cover your subject evenly. The size can add a smooth look to your video.
3. Adjust Your Chroma Key Settings
- Fine-tune the Settings: Use the Chroma key tool in CapCut to remove the background. You need to adjust the comparability and edge settings to get a clear view. So, here, you’ll need a great focus and sharply pulled settings to remove the whole green screen without interrupting your subject.
- Clean-Up Edges: Make sure that you get clear edges means you didn’t get any rough edges. You may need great patience here to get stunning results.
4. Pick Great Backgrounds
- Resolution: Remember to use a High-quality resolution that is equally matched to your video resolution. That will ensure that your edges look aesthetic and neat.
- Add Depth: To make your video look real with a glimpse of deepness use features like gradients or blur effects. To make it look more merged with your subject.
5. Check the Details
- Color Spill: If the green screen light color knocks over onto your subject, you can use CapCut tools like Color Correction to remove that greenish tint.
- Refine Edges: To make your video look natural after rough edges make sure to clean it. This is a very important step for a clear natural result.
6. Manage Movement
- Camera Movement: Sometimes, videos have camera movement to ensure that the background you choose perfectly fits. A perfectly fit background is essential for a natural-looking video.
- Subject Movement: You need to be sure that the background you are applying has stability. Furthermore, if your subject has movement, always ensure that the background is a perfect fit.
7. Preview and Adjust
- Review Your Video: CapCut provides a feature to check Preview your video before exporting. It’s a great feature to check the final result of the video if there’s any need for adjustment before exporting.
- Seek Feedback: Ensure always show your video to someone to seek feedback. Because it can help you spot errors that you may have missed, it can be helpful.
8. Stay Updated with CapCut
- New Features: Stay updated about new features and functionalities because they can enhance your editing capabilities and take you to the next level in editing mostly for green screen effect.
- Learn Continuously: Always take knowledge about every feature you want to use because the guides\tips and tutorials help you achieve big things.
Pros and Cons | How to Use Green Screen on CapCut
Pros
- User-friendly interface, even beginners can create stunning videos without any experience.
- Free with basic editing tools and trendy effects.
- Users can create videos efficiently.
- High-quality video results
- Suitable for storytelling content writers.
Cons
- Needs technical setup
- Restricted by software capacity.
Conclusion | How to use Green Screen on CapCut
Changing the background of any video is a hectic process unless you have CapCut, a go-to video editor tool for Content Creators. CapCut has a user-friendly interface. Yes, again I am praising CapCut but it’s true. With the help of the Chroma key feature CapCut APK Download makes it very easy to change the background and with the help of the Guide I mentioned above will take your video to the next level. You just need to remember those key points I mentioned above, which will make your video look more natural. These are the tips I am using often and it’s really helpful. Hope it will also solve your problem and you can create stunning videos with CapCut.
FAQs | How to use Green Screen on CapCut
1. How do I use the green screen feature in CapCut?
Open CapCut and import your video clips. Click on the clip you want to remove the background from. Choose “Chroma Key,” and select the green color. Adjust the settings for a clear effect.
2. What type of green screen should I use?
Any solid green backdrop will work, but fabric or paper that is wrinkle-free is ideal. You can also use paint for a wall, as long as it’s a consistent color.
3. Can I use colors other than green?
Yes, CapCut allows you to key out other colors. Just Ensure the color you select isn’t available in your subject’s clothing or skin tone.
4. Why are there shadows on my subject after applying the green screen effect?
Shadows usually designate uneven lighting. Try readjusting your lights or positioning your subject’s distance from the green screen.
5. Can I use a moving background?
Definitely! Just ensure the movement matches the subject’s action to support realism.
6. Is there a limit to how many layers I can use?
CapCut allows multiple layers. Yet, performance depends on your device’s compatibility. Keep an eye on performance and modify if needed.


